Geofence Management
To manage geofences, select the Geofences button at the top of the Location screen.
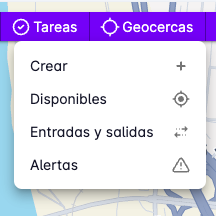
The following options will appear:
Create
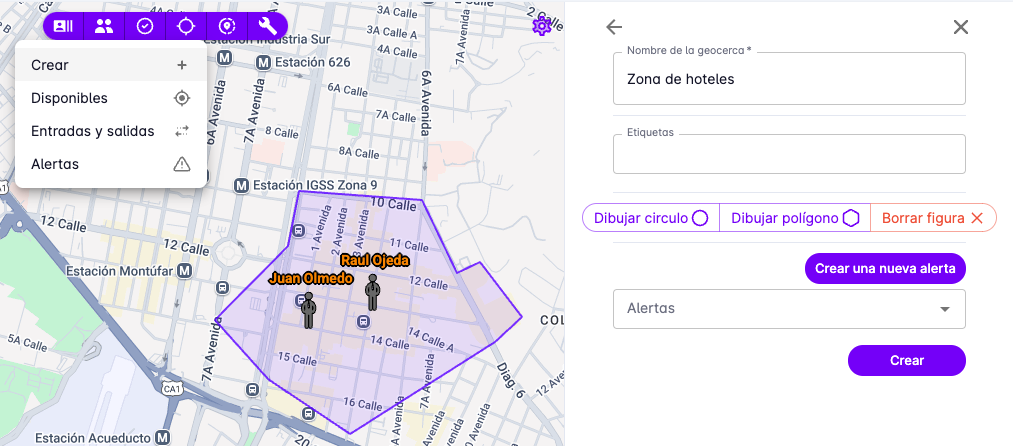
Select Create to create a new geofence.
A form will open with a field for the geofence name, a tag list, buttons to draw a circle or polygon, and a list of alerts that can be linked to the geofence.
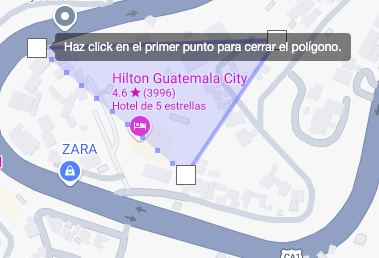
To create a polygon-shaped geofence, select the Polygon button and click on the map to place the points that will form the polygon. Remember to click on the first point to close the polygon.
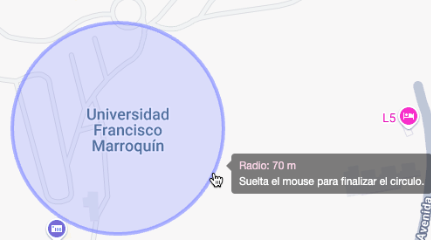
To create a circle-shaped geofence, select the Circle button, click on the map to place the center, then drag to increase or decrease the radius.
Available
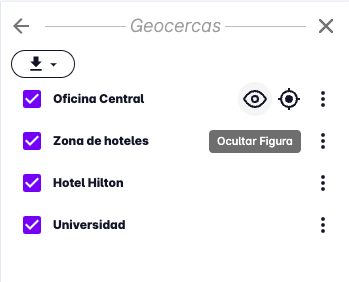
Select Available to see a list of all created geofences.
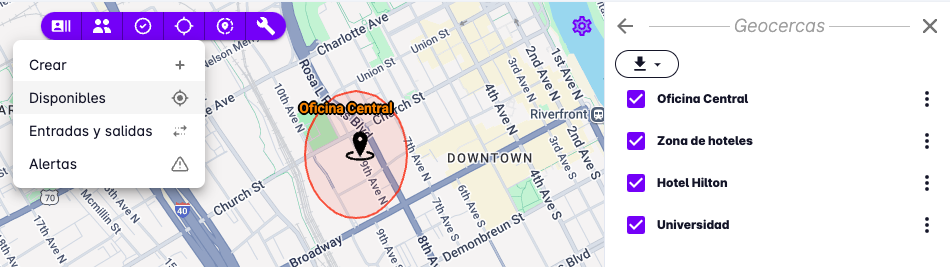
A right panel will show the geofence names, along with buttons to locate each geofence on the map and toggle its boundary shape.
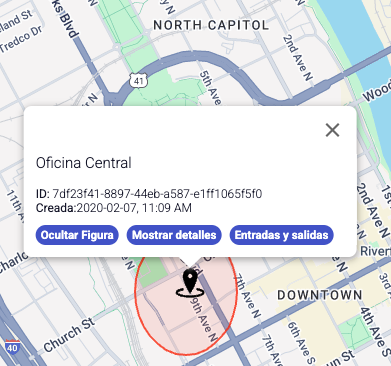
Clicking on a geofence marker on the map will show its details.
Entries and Exits
Select Entries and Exits to see all records saved by the platform when it detects a user passing through a geofence.
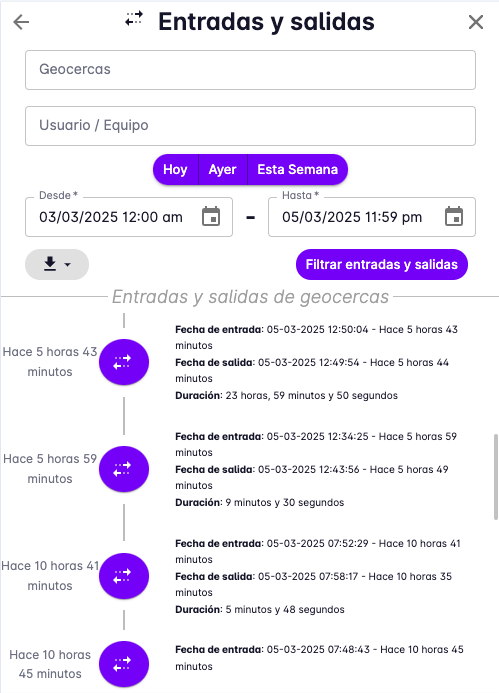
A list of geofence entries and exits will be shown, including the geofence name, the user's name, the date and time of entry or exit, and the time spent inside the geofence.
Alerts
This section shows maximum speed alerts that have been detected, placing markers on the map where each alert was triggered.