Users
Each Workspace has its own users, who can only access the Workspace where they are members. Users can be created, edited, and removed by the Workspace's super-users.
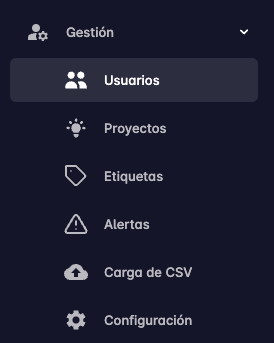
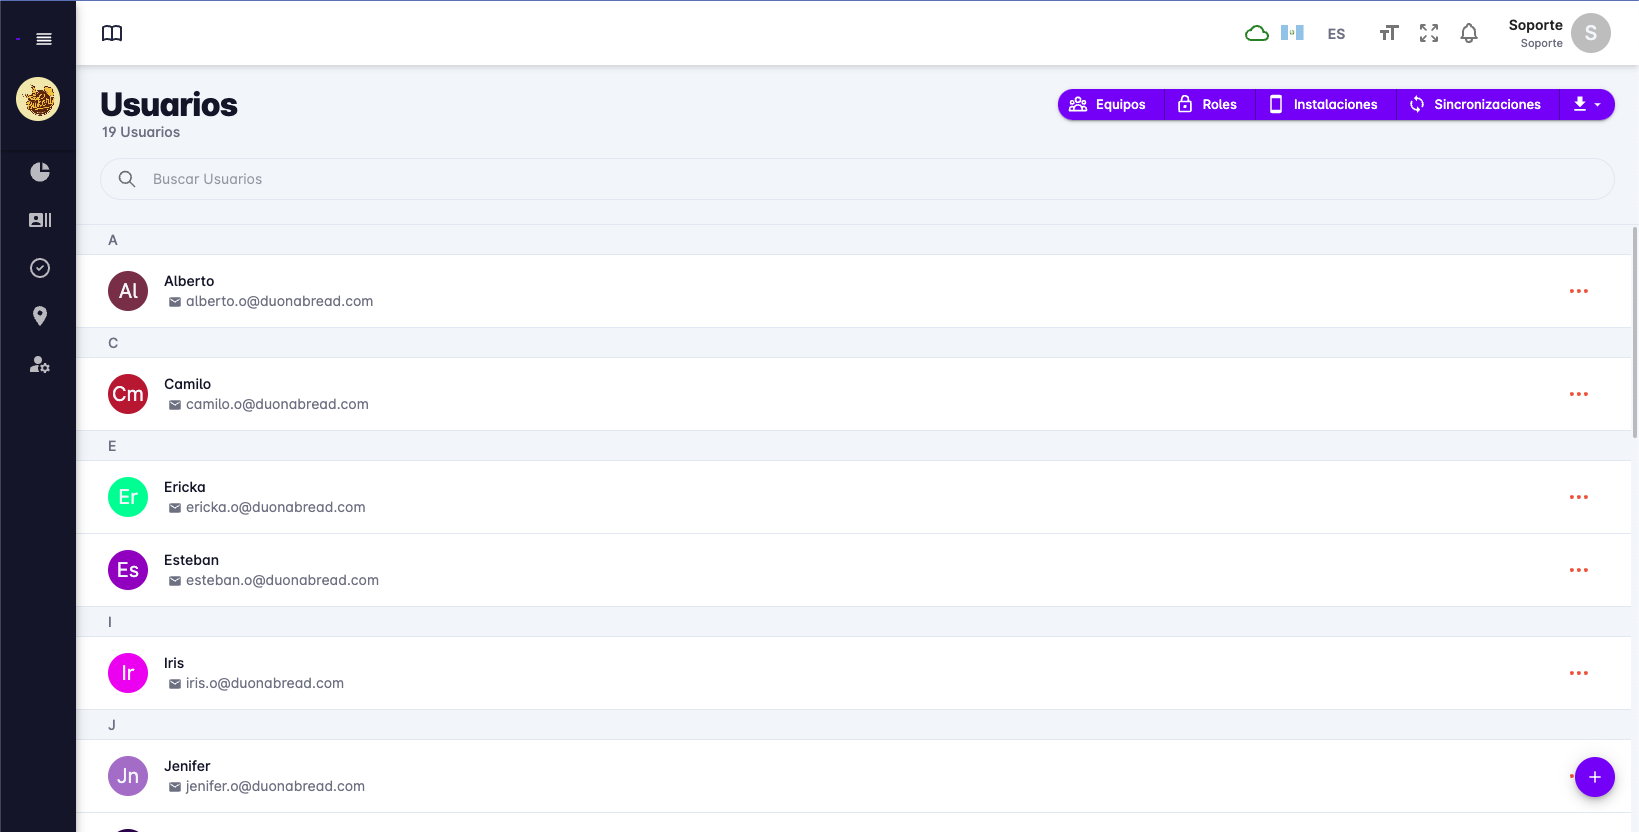
To view the users of a Workspace, click the Users button in the side navigation bar.
When you enter the users screen, a list of all users belonging to the Workspace will be displayed.
User Details
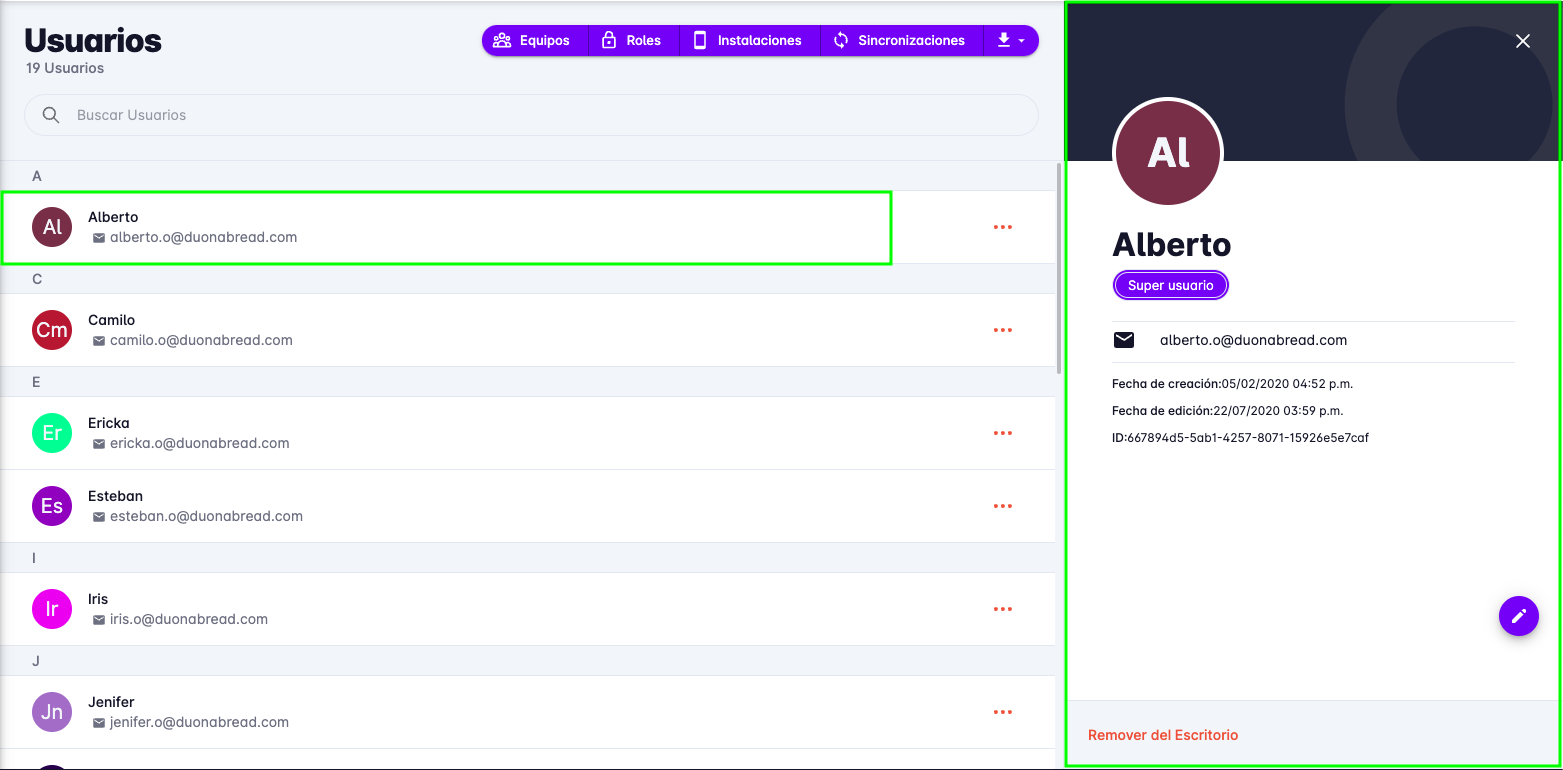
To view a user's details, click on the user you want to see. A panel will appear with the user's information.
Create User
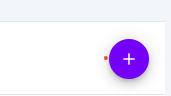
To create a user, click the Add user button at the bottom right of the screen.
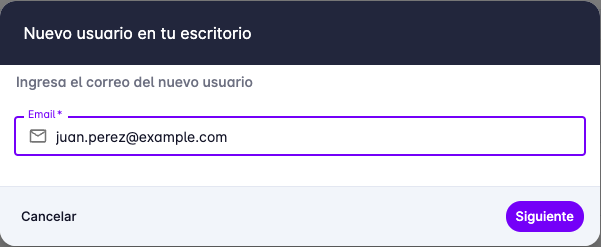
Adding a user requires following a series of steps. In the first step, enter the user's email address.
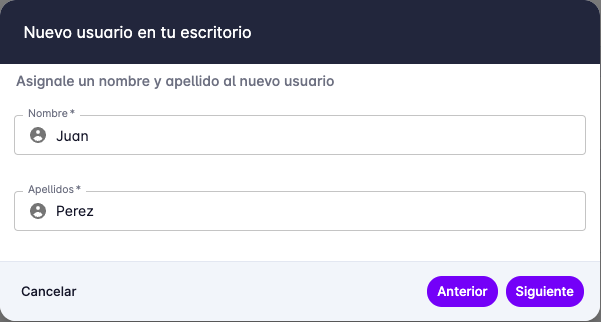
In the second step, enter the user's first and last name.
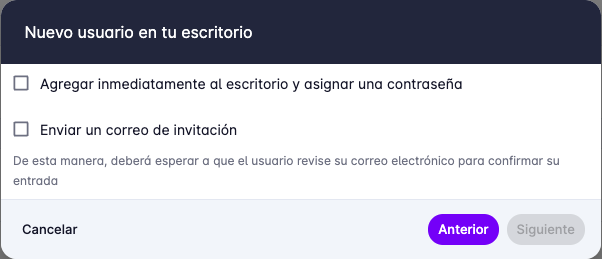
The third step lets you choose whether to add the user to the Workspace immediately or send them an email invitation.
- Add immediately: The user will be added to the Workspace without any confirmation needed. This speeds up user creation without waiting for the user to check their email.
- Send invitation: An email will be sent to the user with a link to confirm their account.
If you choose to add immediately, you will be asked to create a password for the user. You can choose a password or let the system generate a random one. It is important to copy the generated password, as it will not be shown again.
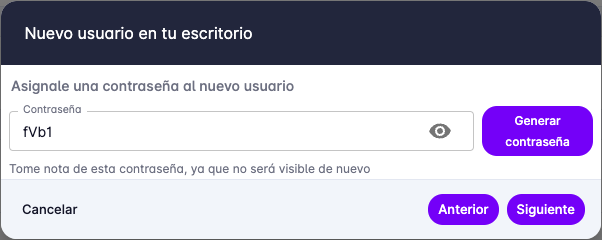
It is recommended to tell the user to change the generated password to one of their own choosing.
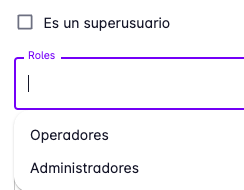
Next, you will be asked to select the role the user will have in the Workspace.
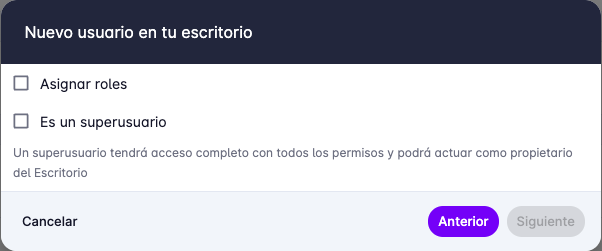
To learn more about roles, see the Roles section.
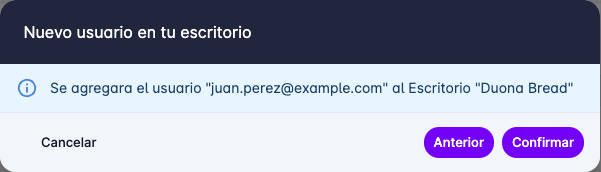
Finally, you will be asked to confirm the user creation.
Edit User
To edit a user, click on the user you want to edit. A panel will appear with the user's information. At the bottom right of the panel, click the Edit button.

A form will appear with the user's information. You can edit the user's first name, last name, phone number, and role.
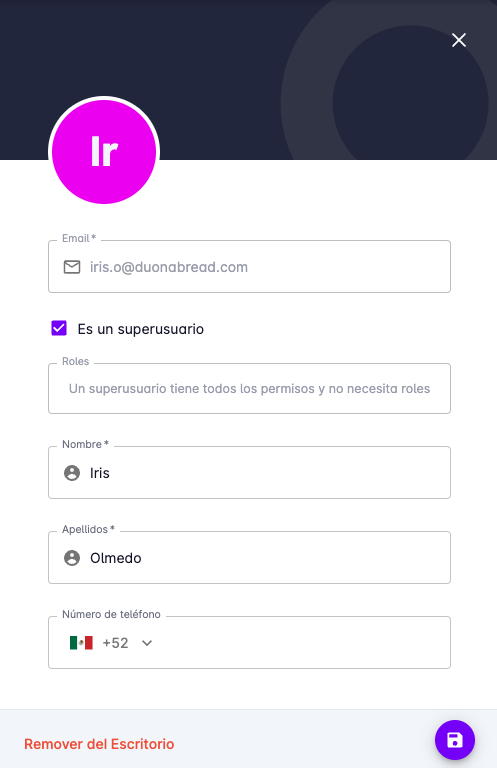
For roles, you can choose whether the user should be a super-user or have roles with restricted permissions.
When you have finished editing, click the Save button.
Remove User from Workspace
Users can be removed from the Workspace so that they no longer have access to it, and are not counted in reports and billing.
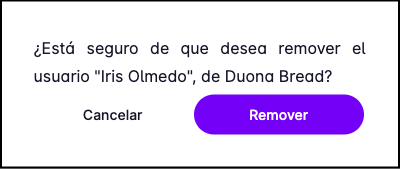
To remove a user, click on the user you want to remove. A panel will appear with the user's information.
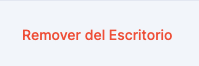
At the bottom right of the panel, click the Remove from Workspace button.
A confirmation message will appear. To remove the user from the Workspace, press the Remove button.
Reset Password
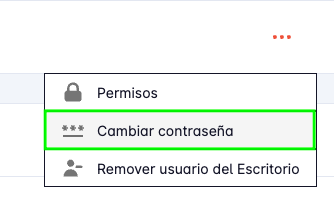
If a user forgets their password, a super-user can reset it. Find the user whose password you want to change, click the three-dot button, then press Change password.
Two fields will appear to enter and confirm the new password.
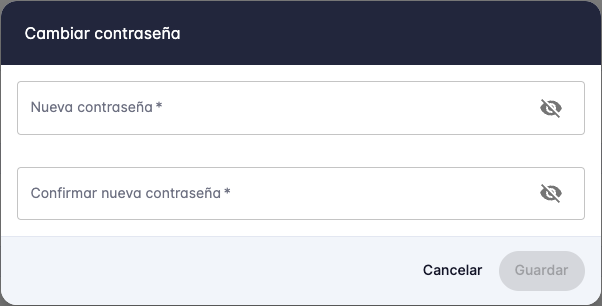
Remember the password, as it will not be shown again.
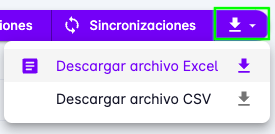
Download User List
To download the user list as an Excel or CSV file, click the Download button at the top right of the screen.
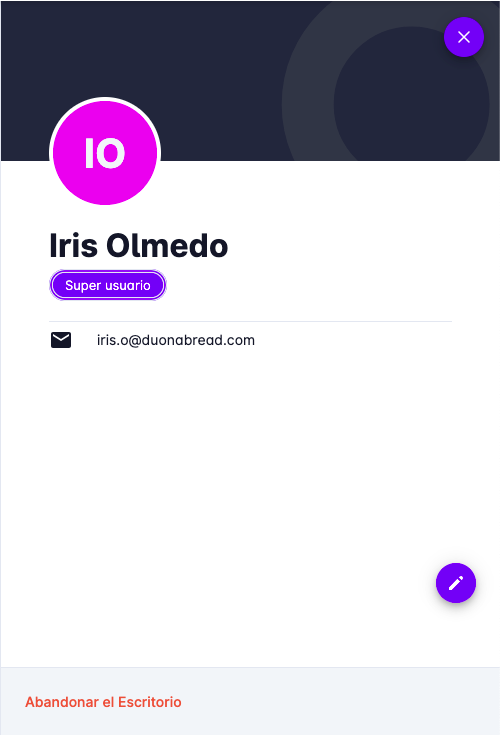
My Profile
To view your profile, click your name in the top navigation bar. A menu will appear with the My profile option.
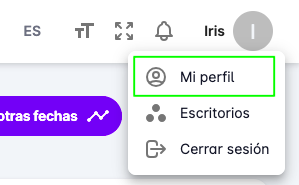
The users page will open with your user already selected in the right panel, where you can view and edit your information.